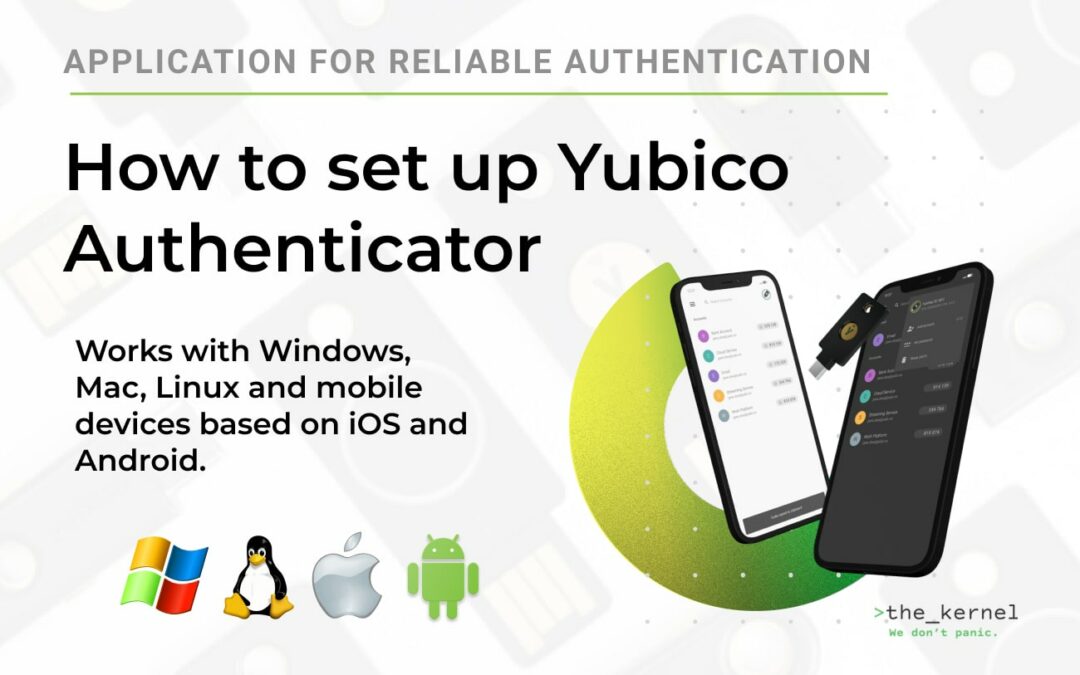
This guide is designed to help you set up your YubiKeys on any services that offer two-factor authentication connections using authenticator programs that generate codes.
You may have seen such offers if you set up two-factor authentication in accounts on Google, Facebook, LinkedIn, Evernote, Dropbox, and many others.
In this article, we will consider the following questions:
- Compatible keys
- How to set up YubiKey in Yubico Authenticator for PC
- How to set up YubiKey with NFC in Yubico Authenticator for Android
- How to set up YubiKey with NFC in Yubico Authenticator for iOS
- How to sign in to your account after setting up two-factor authentication
- Troubleshooting and additional features
Compatible keys
The following keys can be used with the Yubico Authenticator app:
How to set up YubiKey in Yubico Authenticator for PC
Hardware to set up YubiKey on PC:
- YubiKey series 5 or FIPS series with the appropriate connector for your device (USB-C or USB-A).
- A device with a Windows, Mac or Linux operating system.
The following steps to configure the application:
- Select the version of the program for your PC and install it.
- Sign in to the service where you have an account and go to the security settings to enable two-factor authentication.
- Select the option to use an authenticator program (or Google authenticator). After that, a QR code should appear.
- Please note that in order to add a spare key, you will need to save a copy of the QR code or secret key in a safe place.
- Open Yubico Authenticator and insert the key into a USB port on your computer.
- Click on your key icon in the upper right corner.

6. In the menu that opens, select the “Add account” item.

7. After that, a form will open with fields for adding account information. This form is automatically filled after the Yubico Authenticator scans the QR code.

8. Please note that before filling out the form, you can fill in some fields yourself and choose settings. After saving, the settings cannot be changed.

So you can add your site name, account holder name, and set up a key touch requirement to display the code, etc.
9. After entering the necessary parameters, click the “Save” button in the upper right corner.
10. After that, you will be returned to the main screen of the application, where you will see information about your account and code. To copy it, click on the code with the mouse and hold until you see a message at the bottom that the code has been successfully copied to the clipboard.

Congratulations! You have successfully configured Yubico Authenticator. If you want to add a spare key to your account, repeat all the steps again using the QR code you saved beforehand.
How to set up YubiKey with NFC in Yubico Authenticator for Android
To configure YubiKey on Android, select the hardware:
- YubiKey 5 NFC, YubiKey 5C NFC;
- NFC-enabled Android phone.
Next, follow these steps:
- Download the appropriate version for your device.
- Sign in to your account and find the two-factor (or two-step) authentication settings in the security settings.
- Select the option to use an authenticator program or Google authenticator and the server will generate a secret key and a QR code.
- Note. Copy the generated secret key or QR code if you plan to add a spare key to the same account. This practice will help you increase your safety significantly.
- Open the Yubico Authenticator, hold the YubiKey up to the NFC adapter at the request of the app and touch the metal part of the key.
- Click the add account icon in the top right corner of the app.
- Enter the secret key manually or scan the QR code to add a new account to the app and sync it with the server. If necessary, adjust the touch requirement, edit the username or site name.
Congratulations! You have successfully configured your authenticator. In the future, in order to use the app, you will need to unlock the authenticator with the YubiKey. To do this, bring it up to NFC on your phone again.
If you plan to add a spare key, you will need to repeat all the steps again using the duplicate codes.
How to set up YubiKey with NFC in Yubico Authenticator for iOS
To effectively configure the YubiKey in the iOS mobile operating system, you will need to choose the appropriate equipment:
- YubiKey 5 NFC, YubiKey 5C NFC or YubiKey 5Ci;
- iPhone 7 or newer model with NFC support and iOS 13 or higher operating system;
- Apple devices with Lightning connector: iPhone or iPod Touch running iOS/iPadOS 11.2 or later and iPad running iPadOS 16.1 or later.
Steps to setup:
- Download the appropriate Yubico Authenticator for your version.
- Open the app and hold the key up to the NFC adapter, or if you’re using a YubiKey 5Ci, connect the key to your phone via Lightning.
- Open the site where you want to set up two-factor authentication on another device (for example, a laptop or PC). Log in and find the option to add two-step verification (or two-factor authentication) via authenticator apps or Google Authenticator in the security settings.
- When the QR code appears on the screen, open Yubico Authenticator on your iPhone and tap the circle in the upper right corner.
- Select the Add Account option. If a window appears asking for access to the camera, tap Allow.
- Point the camera at another device to scan the QR code.
- Before saving the data, you can change the username and service name, configure other parameters besides “require touch”.
- Click the “save” button in the upper right corner and complete the settings. To do this, the authenticator can ask to present the key to the NFC adapter. Для цього автентифікатор може запросити піднести ключ до адаптера NFC.
- You can now use the one-time code you received in the authenticator to complete setting up two-factor authentication for your account on another device.
Note. If you plan to add a spare YubiKey to your account, you need to save the QR code you used to set up the first key and go through all the steps again.
How to sign in to your account after setting up two-factor authentication
After you’ve set up two-factor authentication to sign in to your account, the server will ask for a code every time you try to sign in (or when you try to sign in on another device).
Features of working with the Yubico authenticator:
- Start the login attempt by entering your login and password.
- When you receive a code request, start the authenticator and unlock it with the key (insert the key into the device’s connector or bring it to the phone).
- Find the code that corresponds to your account.
- Enter the code in the appropriate field.
Pay attention!
- In the desktop version, it is possible to copy the code and paste it into the corresponding field.
- To activate the NFC feature in iOS, pull the screen down a little and raise the key when prompted by the app.
- When setting up the mobile versions to require touch, you will need to tap the key or the “refresh” icon next to the credentials and scan the YubiKey a second time when prompted by the app.
Troubleshooting and additional features
Incorrect codes
The Yubico authenticator implements the OATH-TOTP one-time password standard based on real-time. So if the codes are rejected as incorrect, check the time synchronization settings on the server and on your device.
Account backup
Although it is not possible to copy the information from the YubiKey, you can use the information provided by service providers to add other keys later. For example, in case of loss of the key. To do this, simply store the secret keys or QR codes provided during initial setup in a safe place.
Protect the program with a password
You can increase security by password protecting the OATH program. That is, before you can see the code on the application screen, you will need to enter a password. To do this, unlock the authenticator with the key and find the item in the application menu (under the three dots or under the gear symbol) “set (or change) password”.
That’s all we wanted to talk about authenticator settings. You can learn more about its capabilities at this page. If you have any questions, write to us support. If you have not chosen a key, we invite you to ours online store.
Similar materials in the Knowledge Base

YubiKey Smart Card Mode on macOS – convenient authentication for developers
Smart cards have been very popular for many years as a reliable means of identification, authentication, and authorization in businesses and educational institutions. They come in a variety of form factors: from a SIM card on a phone to a plastic card. However, if you...
OTP passwords on YubiKey — how it works
OTP passwords are one-time passwords (the origin of OTP is from English one time password) that are used for one authentication session. Their effect is usually limited by time. You may have received such codes by phone or mail when trying to access online banking or...

How to protect yourself from phishing with YubiKey on Binance
Binance is one of the largest and most popular cryptocurrency exchanges in the world. With its help, you can monitor the movements of the cryptocurrency market, invest in digital assets and conduct trading operations in real time. Of course, in order to use the...