For developers who only need access to a macOS account, this is inconvenient, so it’s an unnecessary purchase for IT enterprises. And they won’t be necessary if you simply purchase YubiKey security keys that support smart card mode.
Let’s have a look at how YubiKeys work in smart card mode on macOS and how to set them up.
Plan of the article:
- MacOS-compatible security keys
- YubiKey PIV connection requirements
- Setting up the YubiKey PIV
- Set up a YubiKey to log in to your account
- How to reset and disconnect your YubiKey
- Troubleshooting and other issues
MacOS-compatible security keys
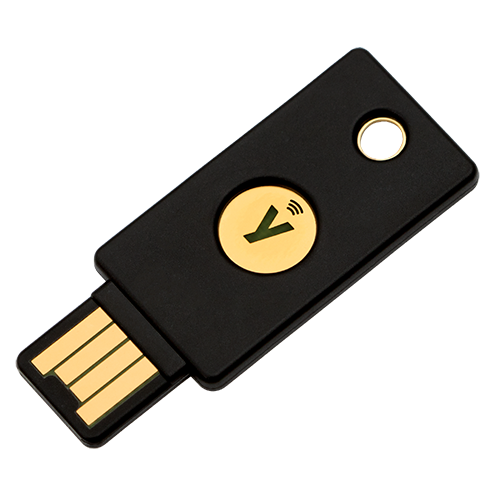
Some YubiKey series have a PIV (personal identity verification) smart card function and support the CCID (integrated circuit card interface device) protocol. That is, they can identify a person and do not require additional reading equipment, just USB or lightning. More information is provided in the article: “YubiKey smart card mode without additional hardware”.
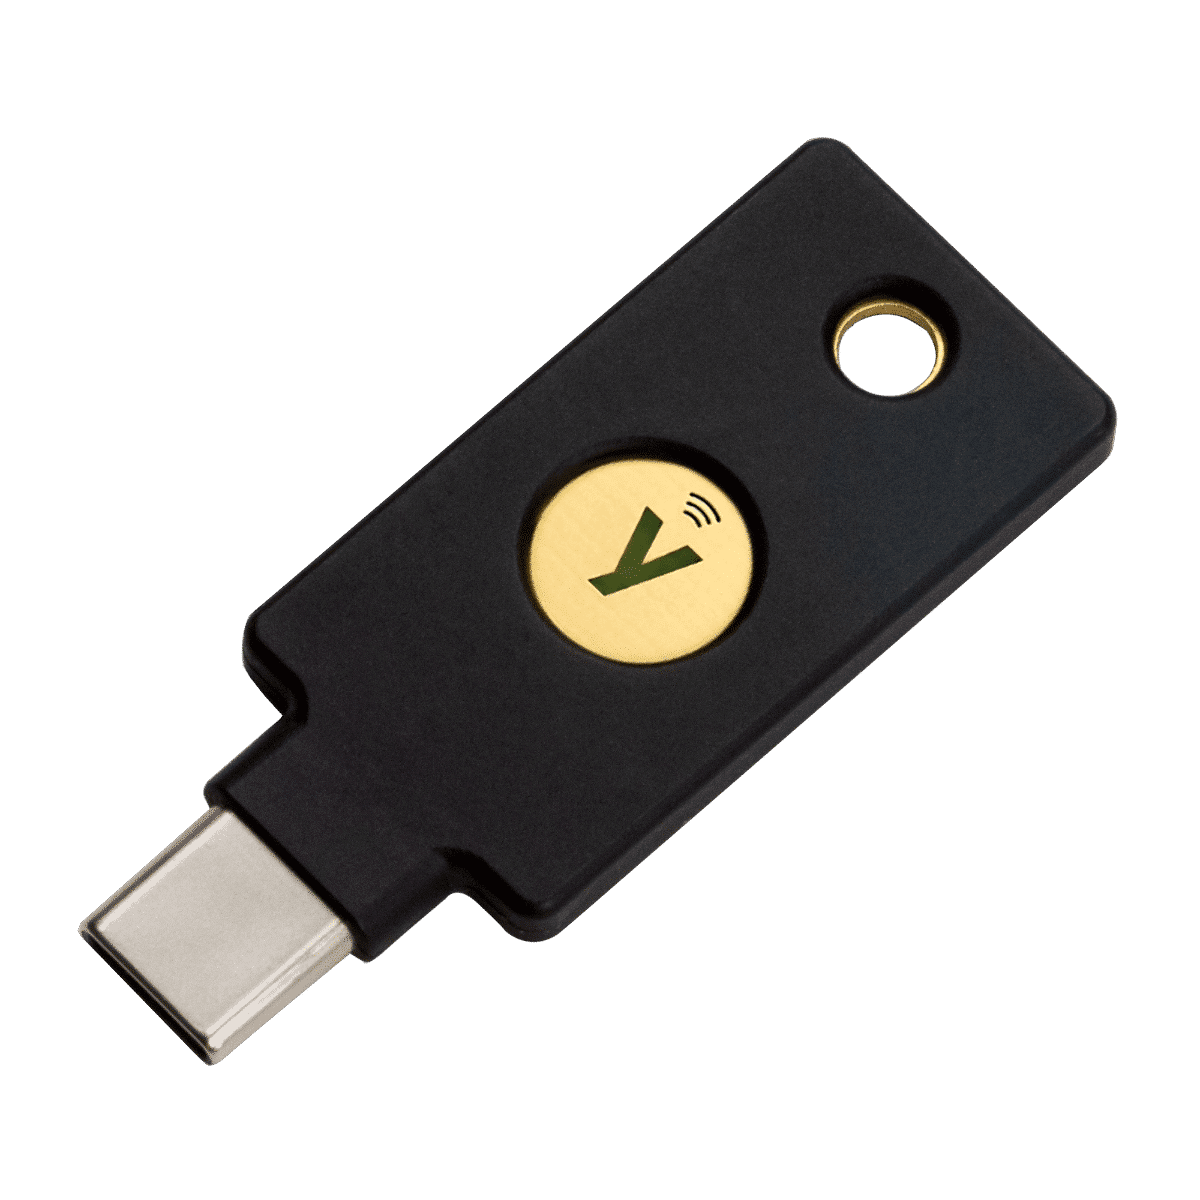
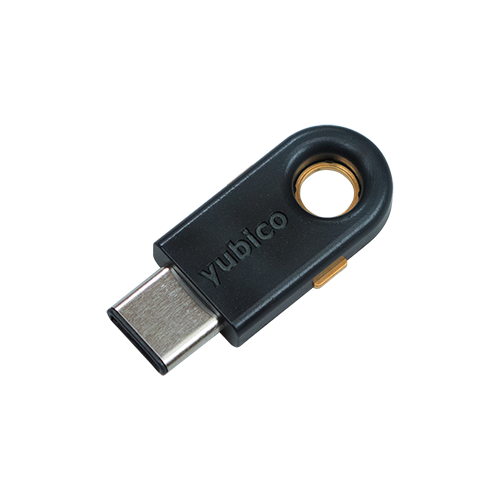
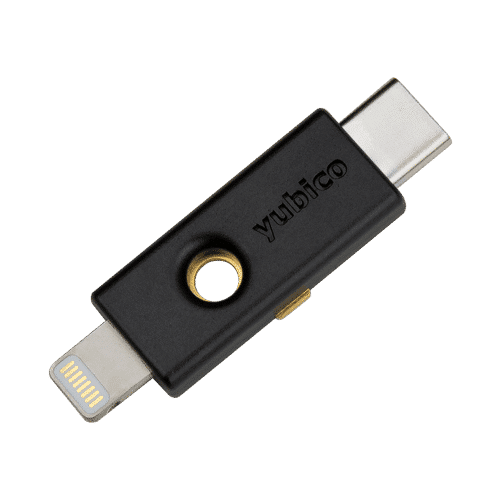
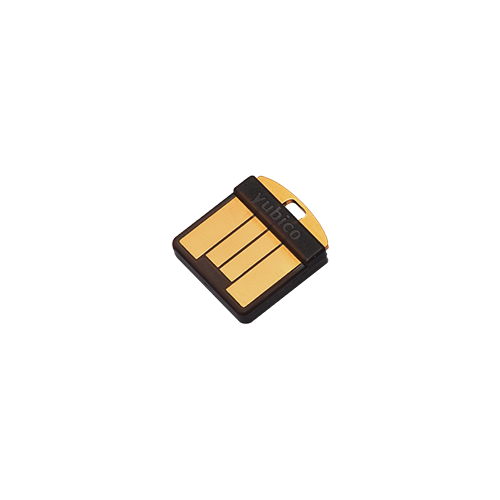
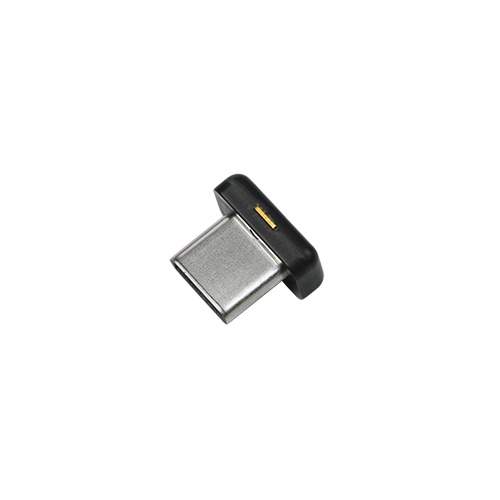
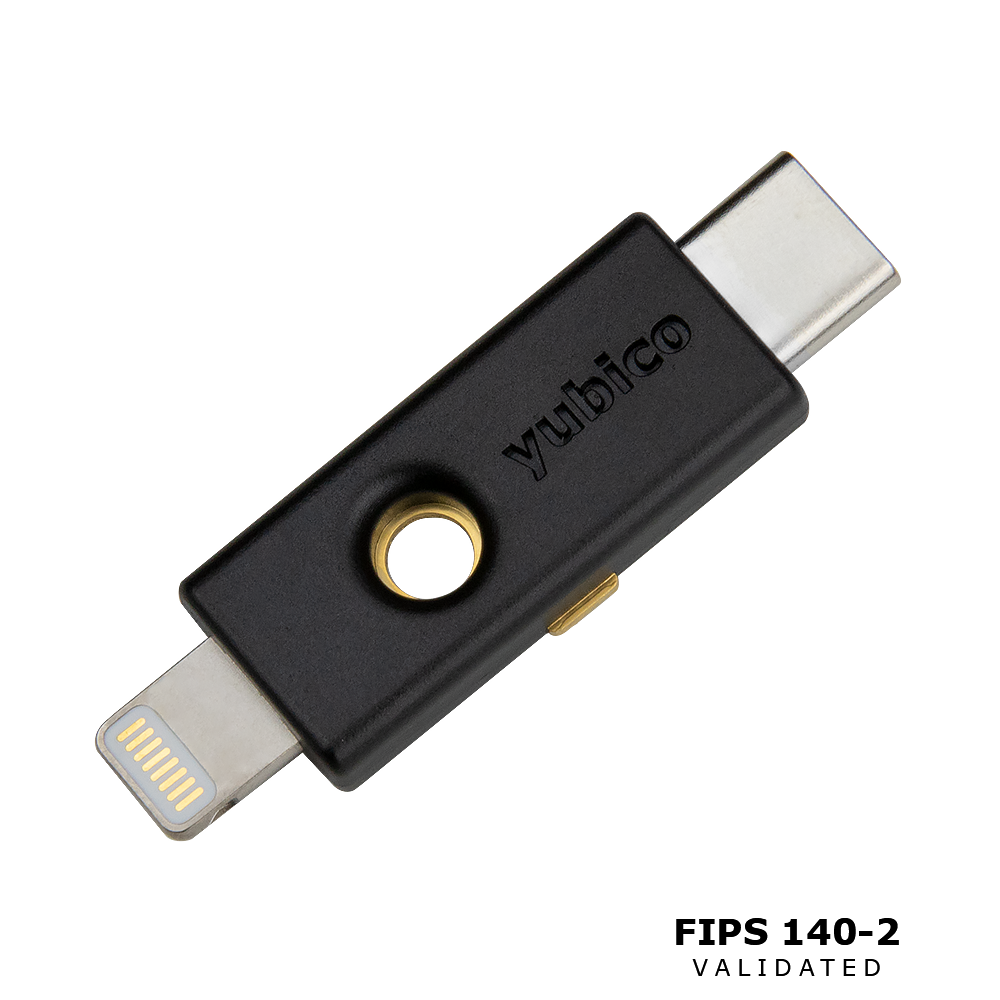
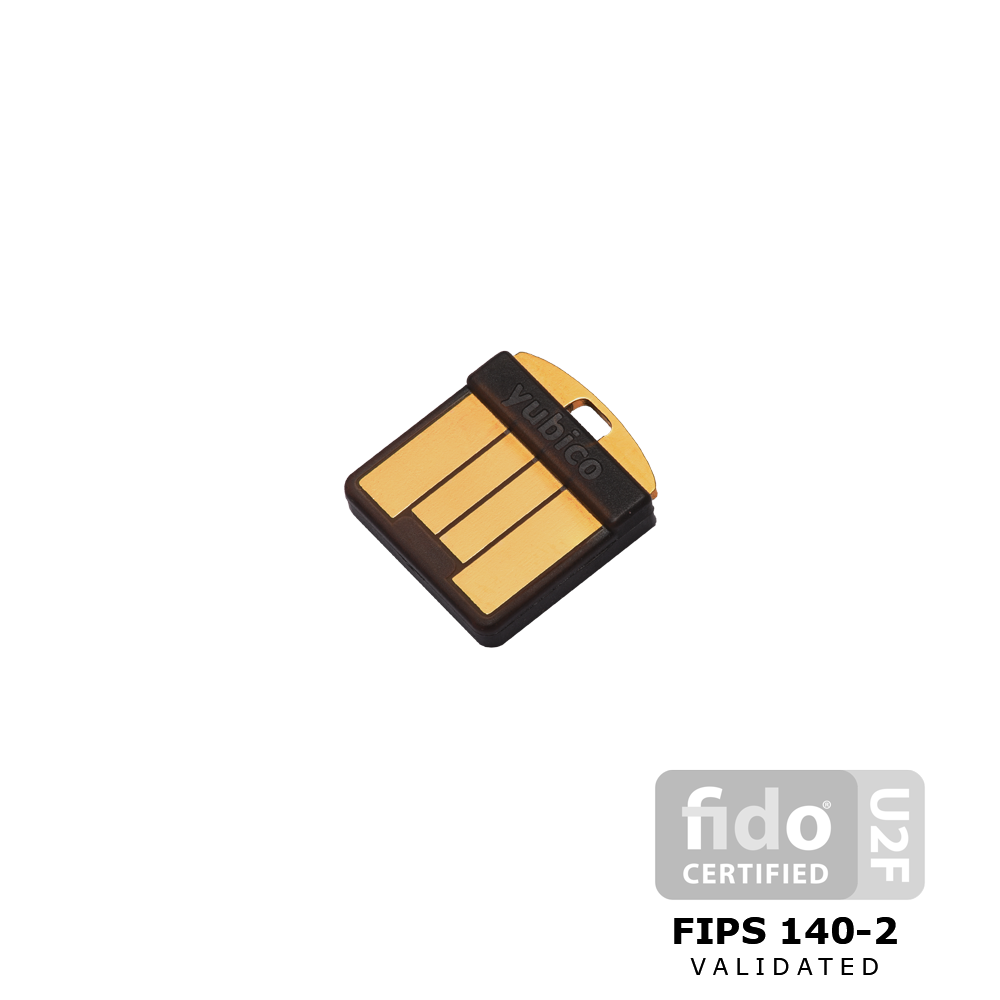
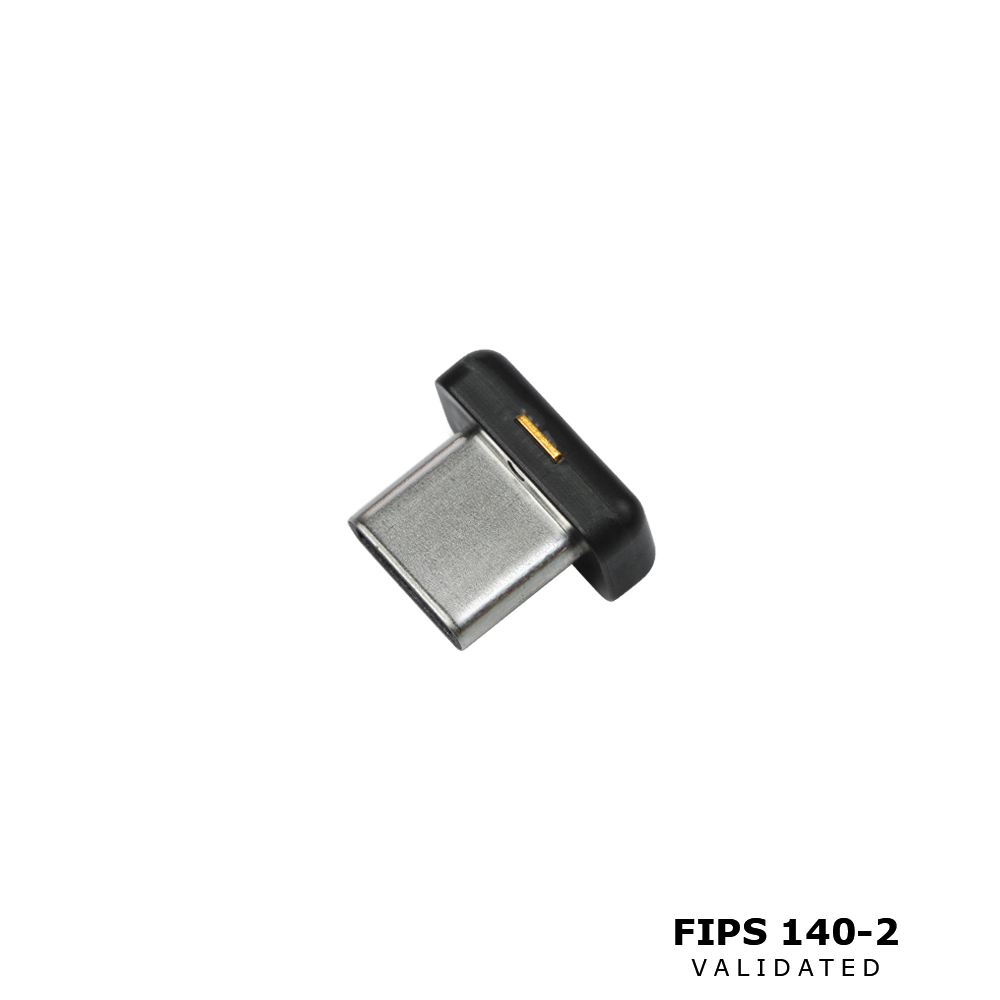
The table below shows the series of smart card keys with different form factors.
YubiKey 5 series keys
YubiKey FIPS series keys


YubiKey PIV connection requirements
- Version of macOS High Sierra (10.13) or later.
- Access to the administrator account.
- YubiKey Manager application, version for macOS.
Note. Users with Apple Silicon processors are advised to read this section beforehand.
Setting up the YubiKey PIV
Standard settings
YubiKey PIV has standard settings:
- PIN code: 123456 (6-8 characters allowed, macOS requires only a number).
- PUK: 12345678 (6-8 characters allowed).
- Control key: 010203040506070801020304050607080102030405060708.
If you need to reset the settings to the default, use the YubiKey Manager:
- Connect the YubiKey to your computer.
- Open the YubiKey Manager app.
- Find the tab: “Applications”.
- Select: “PIV”.
- Click: “Reset PIV”.
How to set a new PIN, PUK and control key
- Insert the YubiKey.
- Log in to the YubiKey Manager app and follow the link “Apps” -> “PIV”.
- Select the “Set up PINs” function.
- Click on the “Change PIN” button.
- Enter the current code that was set by the manufacturer, or select the “Previous option” function.
- Enter a new PIN – it must be a 6- to 8-digit string of numbers because macOS doesn’t accept other characters for the code.
- Confirm your new PIN and remember it or keep it in a safe place.
- Click the button “Change PIN code of smart card connection”.
You can also change the PUK (or Control Key) in the same way by selecting the “Change PUK” (or “Change Control Key”) function in the “Set up PIN” section.
Set up a YubiKey to log in to your account
- Open the Applications page in the YubiKey Manager app and select the PIV section.
- Click the “Settings for macOS” link.
- Next, if you changed the standard PIN code, PUK or control key, enter it when prompted by the server and click the “OK” button.
- Remove the YubiKey and plug it back into the USB port.
- When prompted to “Pair with macOS smart card,” click the “Pair” button. If you don’t see this prompt, go to the “Troubleshooting” section to try to resolve the issue.
- After that, enter your account password and click the “Pair” button again.
- Next, in the “Smart card connection” window, enter your configured PIN code and click “OK”.
- Then, when prompted by the system, enter the password from the account and click “OK”.
Try checking the configuration by pressing Ctrl+Command+Q – this command will lock the computer. Now try to unlock it with the YubiKey – insert the security key and enter the PIN.
How to reset and disconnect your YubiKey
Sometimes you may need to remove the YubiKey from your computer. Follow the instructions below to avoid being blocked from logging in.
First, you need to remove the system requirement for using a smart card, if it has been configured. Because if you remove the YubiKey first, access to the system will be blocked. You can then choose to remove all certificates that were installed when you used YubiKey on your macOS device, or just the certificates you need to sign in.
How to remove the system requirement for using a smart card on macOS
Remove a single YubiKey or smart card
- Open the terminal and enter the request:
sc_auth list [username]where instead of[username]you need to add a username. - Copy the hash corresponding to your user.
- Run the command:
sc_auth unpair -h [hash]
Delete all keys or smart cards belonging to the same user
- Open the terminal.
- Enter your request:
sc_auth unpair -u [username]
Delete all keys or smart cards of the currently logged-in user
- Open the terminal.
- Enter your request:
sc_auth unpair -u $(whoami)
Disable the pairing interface on macOS
If you don’t want macOS to prompt you to add your YubiKey to your system record when you sign in to various apps and services with your hardware device, use the following settings:
- Open the terminal.
- Enter your request:
sc_auth pairing_ui -s disable
If you want to revert to the previous settings, use the command: sc_auth pairing_ui -s enable
How to remove certificates from YubiKey
Delete all certificates
Deleting all certificates results in a reset to the original settings. So the actions will be appropriate:
- In the YubiKey Manager interface, select the tab: “Applications”.
- Select: “PIV”.
- Click: “Reset PIV”.
Remove only the certificates that are used to log in to macOS
- In the YubiKey Manager app, tap Apps– > «PIV».
- Next, click the Configure certificates button.
- In the Authentication tab, click Delete.
- Confirm the action by clicking “Yes”.
- If you are prompted for a PIN, enter the PIN and click “OK”. If you are prompted to enter a control key, enter it and click “OK”.
- Now go to the “Key Management” tab and repeat the same steps.
Troubleshooting and other issues
“Pair with a macOS smart card” prompt does not appear
If you don’t see the “Pair with macOS Smart Card” prompt when you’re setting up a macOS system account sign-in, the pairing interface might be disabled. Try the following steps to resolve this issue:
- Open the terminal.
- Enter the command:
sc_auth pairing_ui -s enable - Check the user status by running:
sc_auth pairing_ui -s status - The interface should be enabled, so try resetting your YubiKey.
If the previous steps did not lead to the desired result, try other options:
- Run the command:
sc_auth pairing_ui -f - If this step doesn’t help either, type it into the terminal:
sc_auth identities, to see if your system detects paired smart cards at all. - If it does, you should get something like this answer:
SmartCard:com.apple.pivtoken:2D2248DE2F337A1F99C34BE4DCF44B61 Unpaired identities: A205691C39CBE2FF81F72070C8FEE6B27DF4E527 Certificate For PIV Authentication (Yubico PIV Authentication) |
- In this case, you can replace the hash (i.e. this line from the example:
A205691C39CBE2FF81F72070C8FEE6B27DF4E527)to the line responsible for displaying indicators:sudo sc_auth pair -h <hash > -u $(whoami) - If you have not received a response to your request
sc_auth pairing_ui -f, you will have to reset the smart card program on the YubiKey. To do this, enter the command in the terminal:ykman piv reset. - When you receive a prompt from the system, click Y, and then Enter, to confirm it.
YubiKey smart card required
Users with Apple Silicon processors should be careful and careful when setting up authentication with the YubiKey, as there is a risk of locking the system. This is because unlike Intel processors, Apple Silicon’s Macs require a smart card to unlock FileVault, a fully integrated disk encryption solution. In this scenario, only the last used smart card will work to unlock the system. This can cause the spare key to not work, and the smart card requirement can lead to a lockout if done incorrectly. Therefore, before making changes to the configuration, you should first carefully read the instructions from Apple (instruction 1, instruction 2).
Multiple YubiKeys and macOS computers
- You can use one smart card for several computers. To do this, insert the key into each of the macOS and follow the steps described in the section YubiKey settings.
- You can also connect multiple keys to one macOS. To do this, go through the setup procedure with each YubiKey security key. You will now be able to use any of these keys to log in to a single system account. Login is by PIN code. You can optionally set the same PIN code for all keys or, vice versa, use different codes.
Note. One key can only be associated with one specific user account.
Lost or stolen YubiKey
- If you set up your smart card for passwordless sign-in using Apple’s instructions, look for the “Turn off smart card-only authentication” section in the instructions and use it to disable the system’s requirement.
- If you have not configured the previous feature, you can log in with your password (or a spare key), then reset and disconnect the YubiKey according to as described above.
We’ve covered how to set up YubiKey on macOS. We would like to remind you to have spare keys to your accounts just in case. They don’t have to be the same form factor for you to connect them. The main thing is that they are compatible with your device and have the appropriate protocols. To quickly and easily find a YubiKey primary or secondary key for yourself, follow the link or click the button below.
Similar materials in the Knowledge Base
OTP passwords on YubiKey — how it works
OTP passwords are one-time passwords (the origin of OTP is from English one time password) that are used for one authentication session. Their effect is usually limited by time. You may have received such codes by phone or mail when trying to access online banking or...
How to protect yourself from phishing with YubiKey on Binance
Binance is one of the largest and most popular cryptocurrency exchanges in the world. With its help, you can monitor the movements of the cryptocurrency market, invest in digital assets and conduct trading operations in real time. Of course, in order to use the...
Yubico Authenticator – User Guide
This guide is designed to help you set up your YubiKeys on any services that offer two-factor authentication connections using authenticator programs that generate codes.

